Presentations over video conferencing apps like Zoom and Google Meet work best when you share your entire screen but anyone with a 4K display knows the lag doing that can create. Also, if you only have one screen, this leaves you without any space for your notes. You can work around this by only sharing a portion of you screen, sure, but that gets finicky if you accidentally move a window.
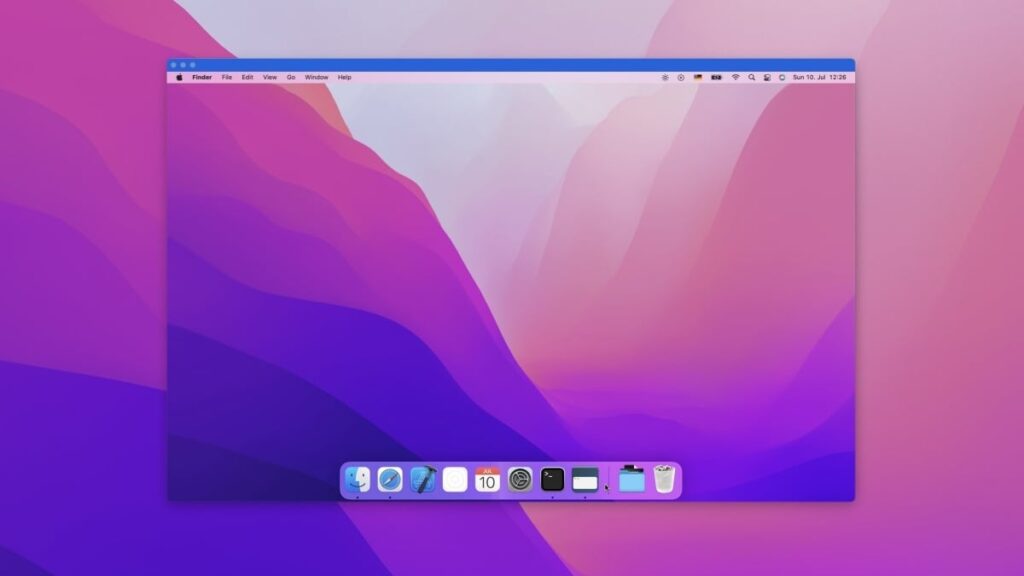
Deskpad (which I found via Lou Plumber) is a free Mac app that makes a virtual second monitor that lives in a window. The idea is that you move your presentation software to that display and share it, then use the rest of your actual display so you can see your notes and the stream’s chat.
Using the application is simple: Just install and open it—you’ll see a window showing you a full Mac desktop. This is a simulated display—you can even configure it in System Preferences.
Credit: Justin Pot
You can adjust the resolution of the display here—set it lower if your presentations tend to lag. You can also click the “Arrange” button to decide which side of the screen you need to move your mouse to in order to enter the virtual display. This is a little confusing, granted, but you need to pretend that the DeskPad window is another monitor on your desk. Play around with it and you’ll get the feel for it.
Now you can get ready to give your presentation. Put your presentation software in the virtual, DeskPad display and set it to full screen. Then, when sharing your screen in Zoom or similar software, choose the DeskPad display.
Credit: Justin Pot
Zoom will share the entire virtual display as though it’s a real one. Now you can organize your screen just the way you like it. With the presentation in full screen in the DeskPad window you can have your notes and anything else in separate windows alongside it. It’s a bit of a hack, sure, but it works.


